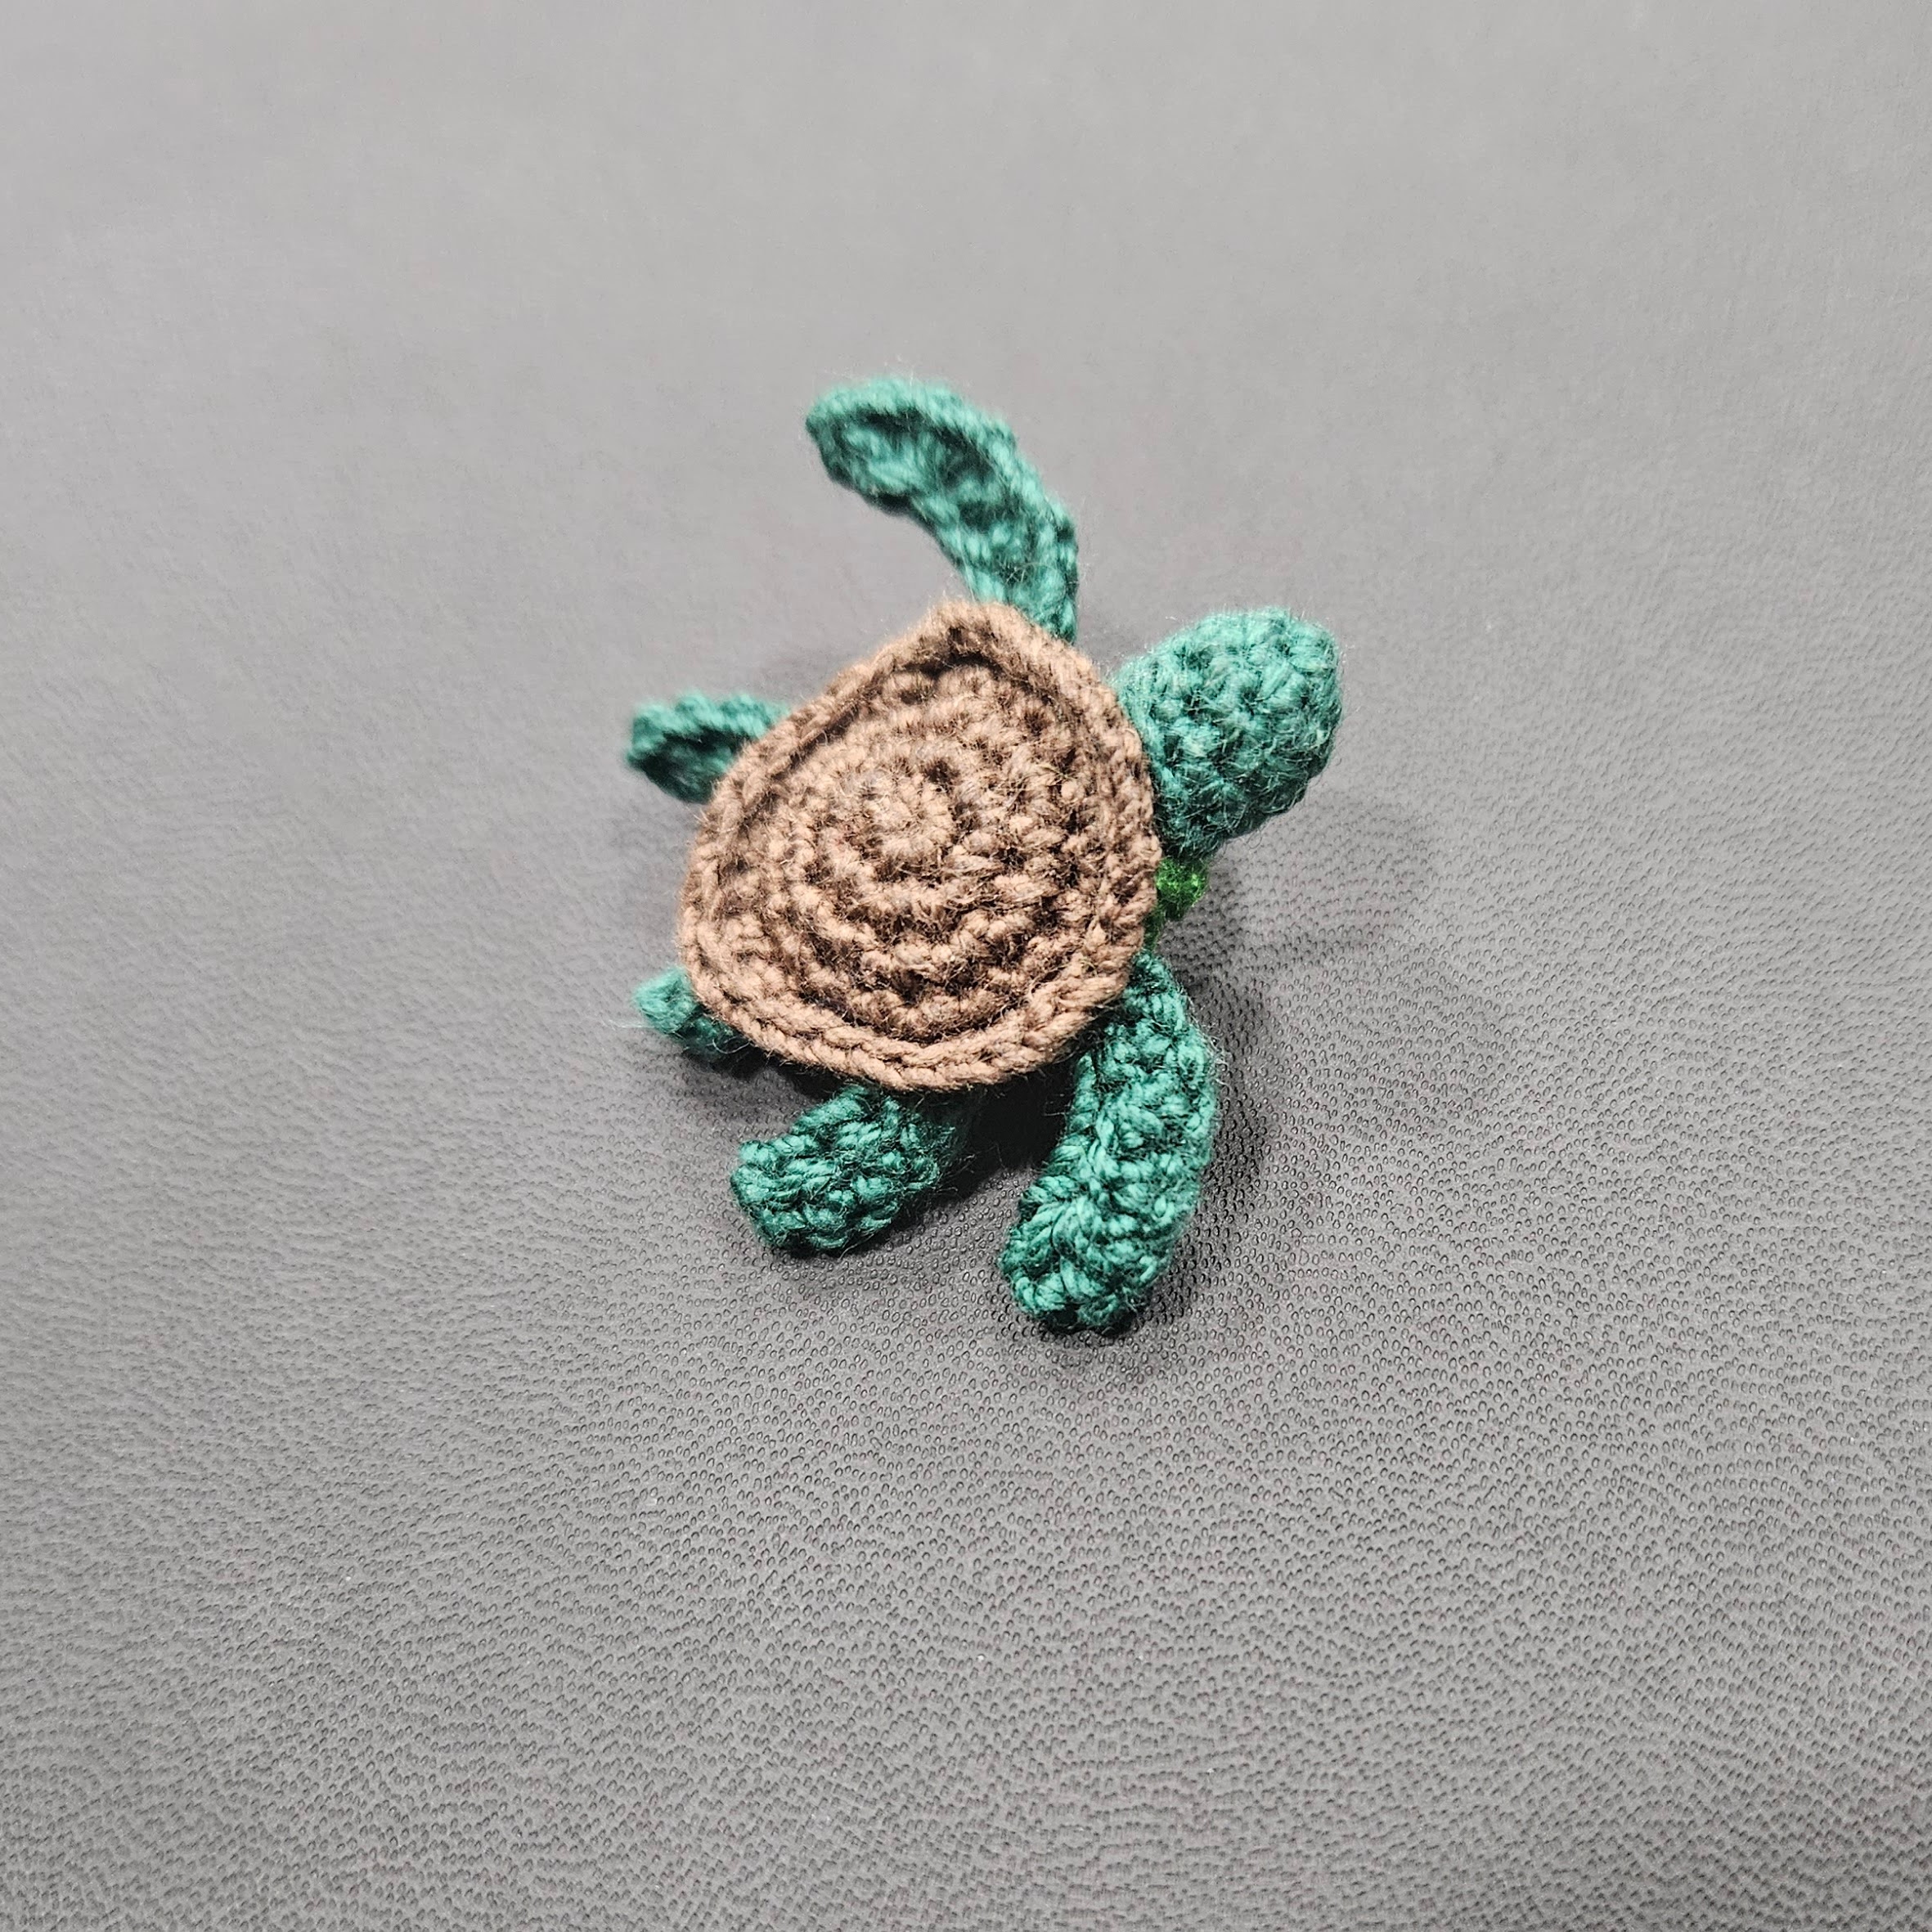
Crochet Sea Turtle Earrings
This pattern is intended to be used to make earrings. I originally made it while making my mom a gift. It should work just as well as a stand alone plush if you want!
If you decide to make this pattern, I would love it if you could share it on instagram and tag/mention me! My username is @derongan.
Please do not sell or redistribute this pattern. Feel free to make for personal use or to sell, but please link back to this site if you do the latter.
Supplies
- Brown crochet thread (Aunt Lydia’s Classic Brown)
- Green crochet thread (Aunt Lydia’s Classic Myrtle Green)
- Dark Green crochet thread (Aunt Lydia’s Classic Forest Green)
- Two earring hooks
- 1.25mm Crochet Hook
I used brown for the shell, green for the undershell, and dark green for the body.
Terminology (US)
- CH - Chain
- SC - Single Crochet
- INC - Increase (SC unless otherwise specified)
- DEC - Decrease (Sc unless otherwise specified)
- HDC - Half Double Crochet
- DC - Double Crochet
Turtle Body
Dark green crochet thread
- 6 x SC in a magic ring (6)
- (SC, INC) x 3 (9)
- 9 x SC (9)
- 9 x SC (9)
- 9 x SC (9)
- 9 x SC (9)
- (2 x SC, INC) x 3 (12)
- (2 x SC, INC) x 4 (16)
- 16 x SC (16)
- 16 x SC (16)
- 16 x SC (16)
- 8 x DEC (8)
Stuff the body - 4 x DEC (4)
- 4 x SC (4)
- 4 x SC (4)
Fasten off/sew shut
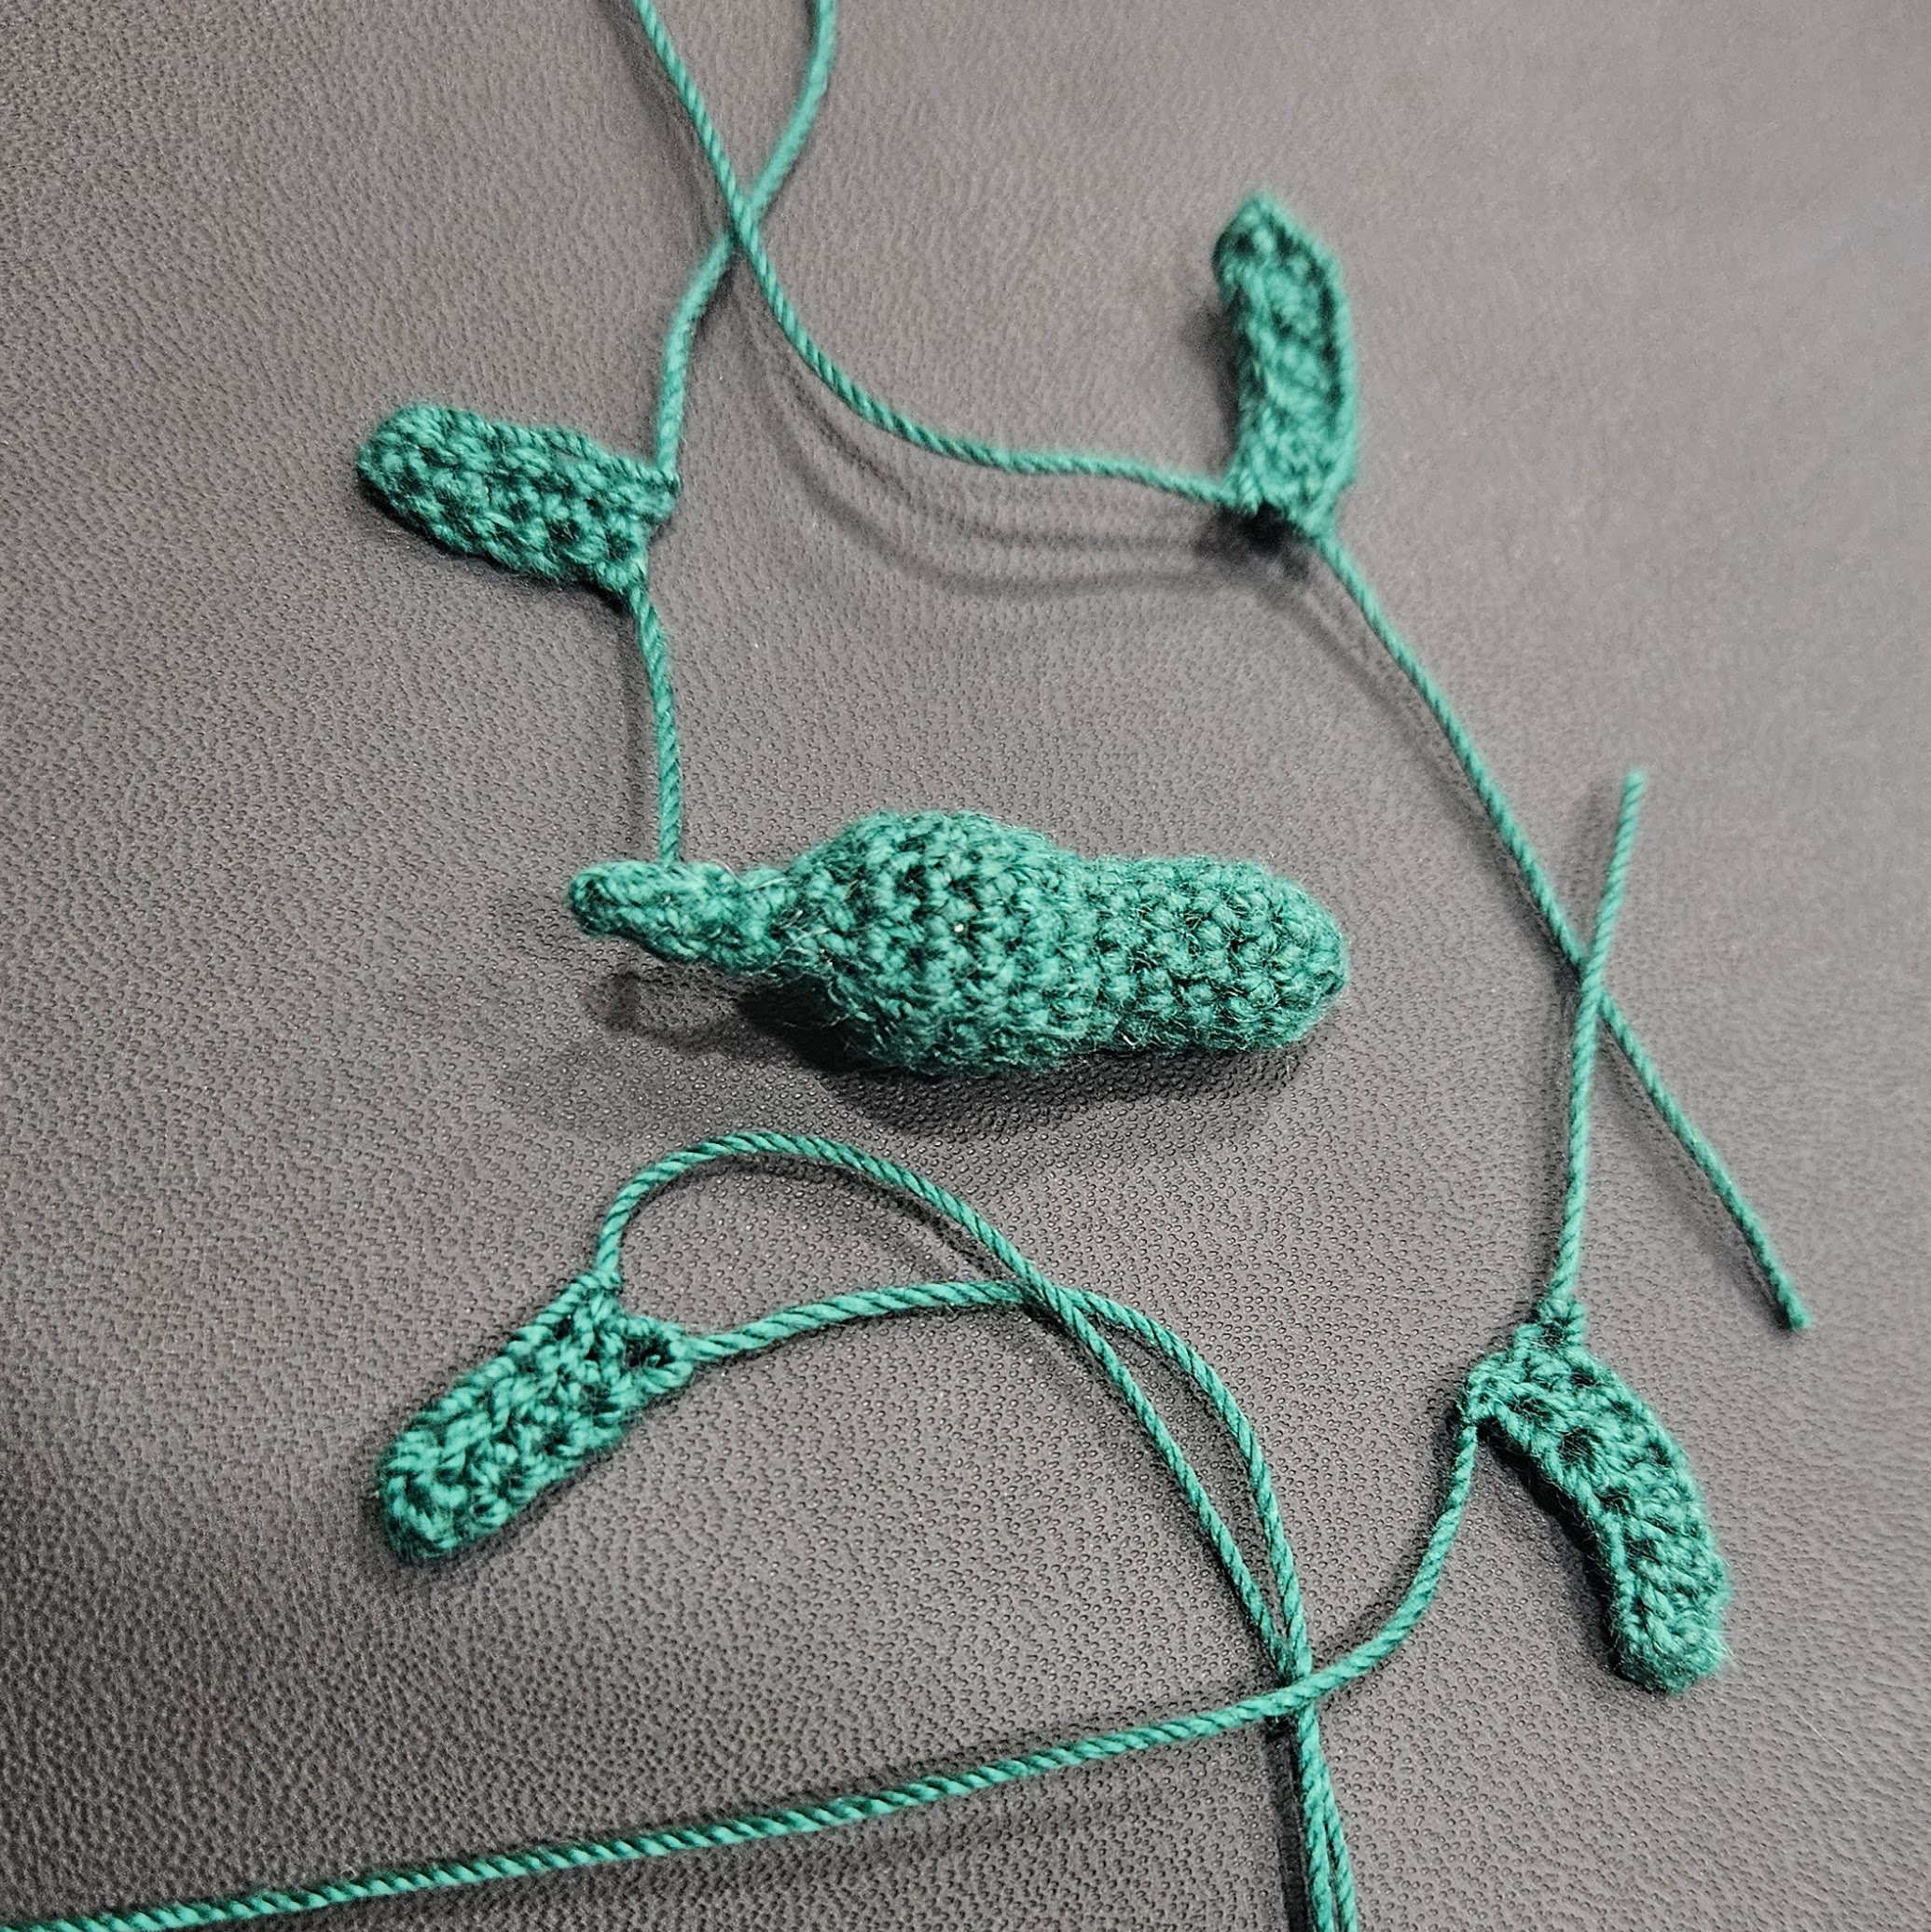
Front Flipper (make two)
Dark green crochet thread
- 9 x CH
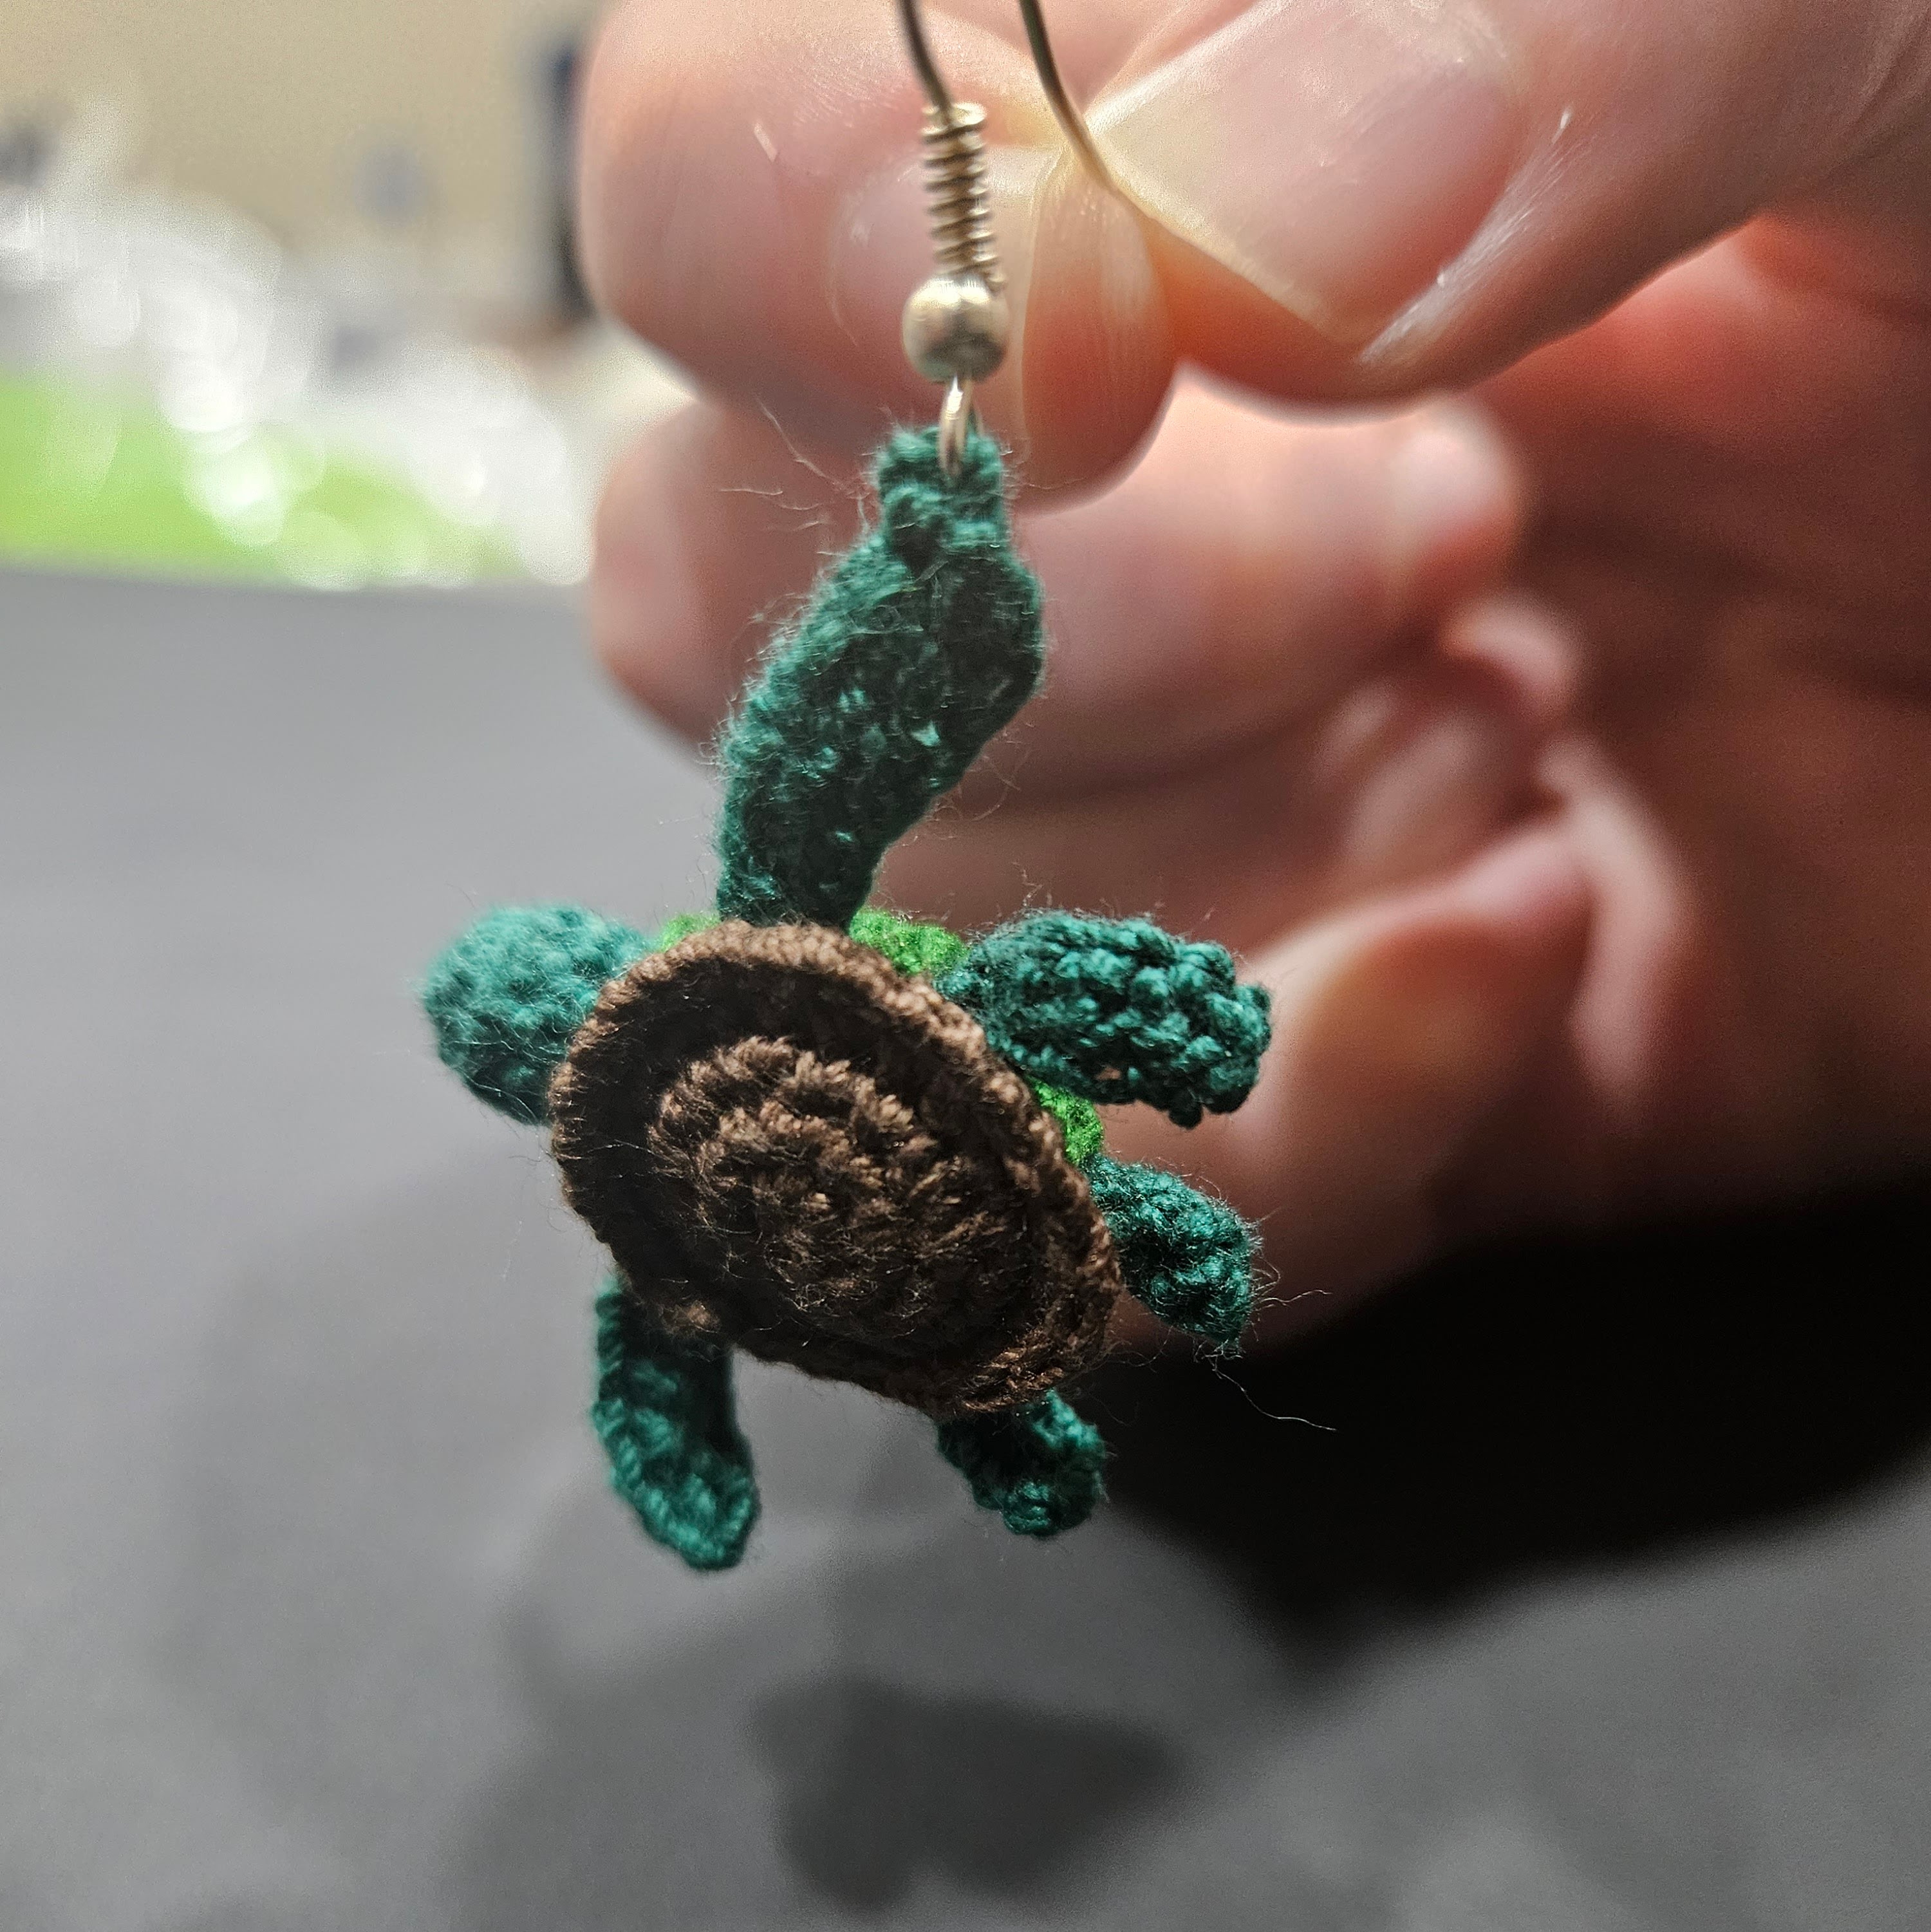
*If you want to make it an earring, for one of the fins, pull out your hook, attach the earring, and continue crocheting. This will result in the turtle facing sideways off of the head. You can try different attachment styles if you like. - Starting in second stitch from the hook, HDC, HDC DEC, HDC, HDC DEC, 2 x HDC (6)
Fasten off
Back Flipper (make two)
Dark green crochet thread
- 6 x CH
- Starting in second stitch from the hook, 5 x HDC (5)
Fasten off
Shell
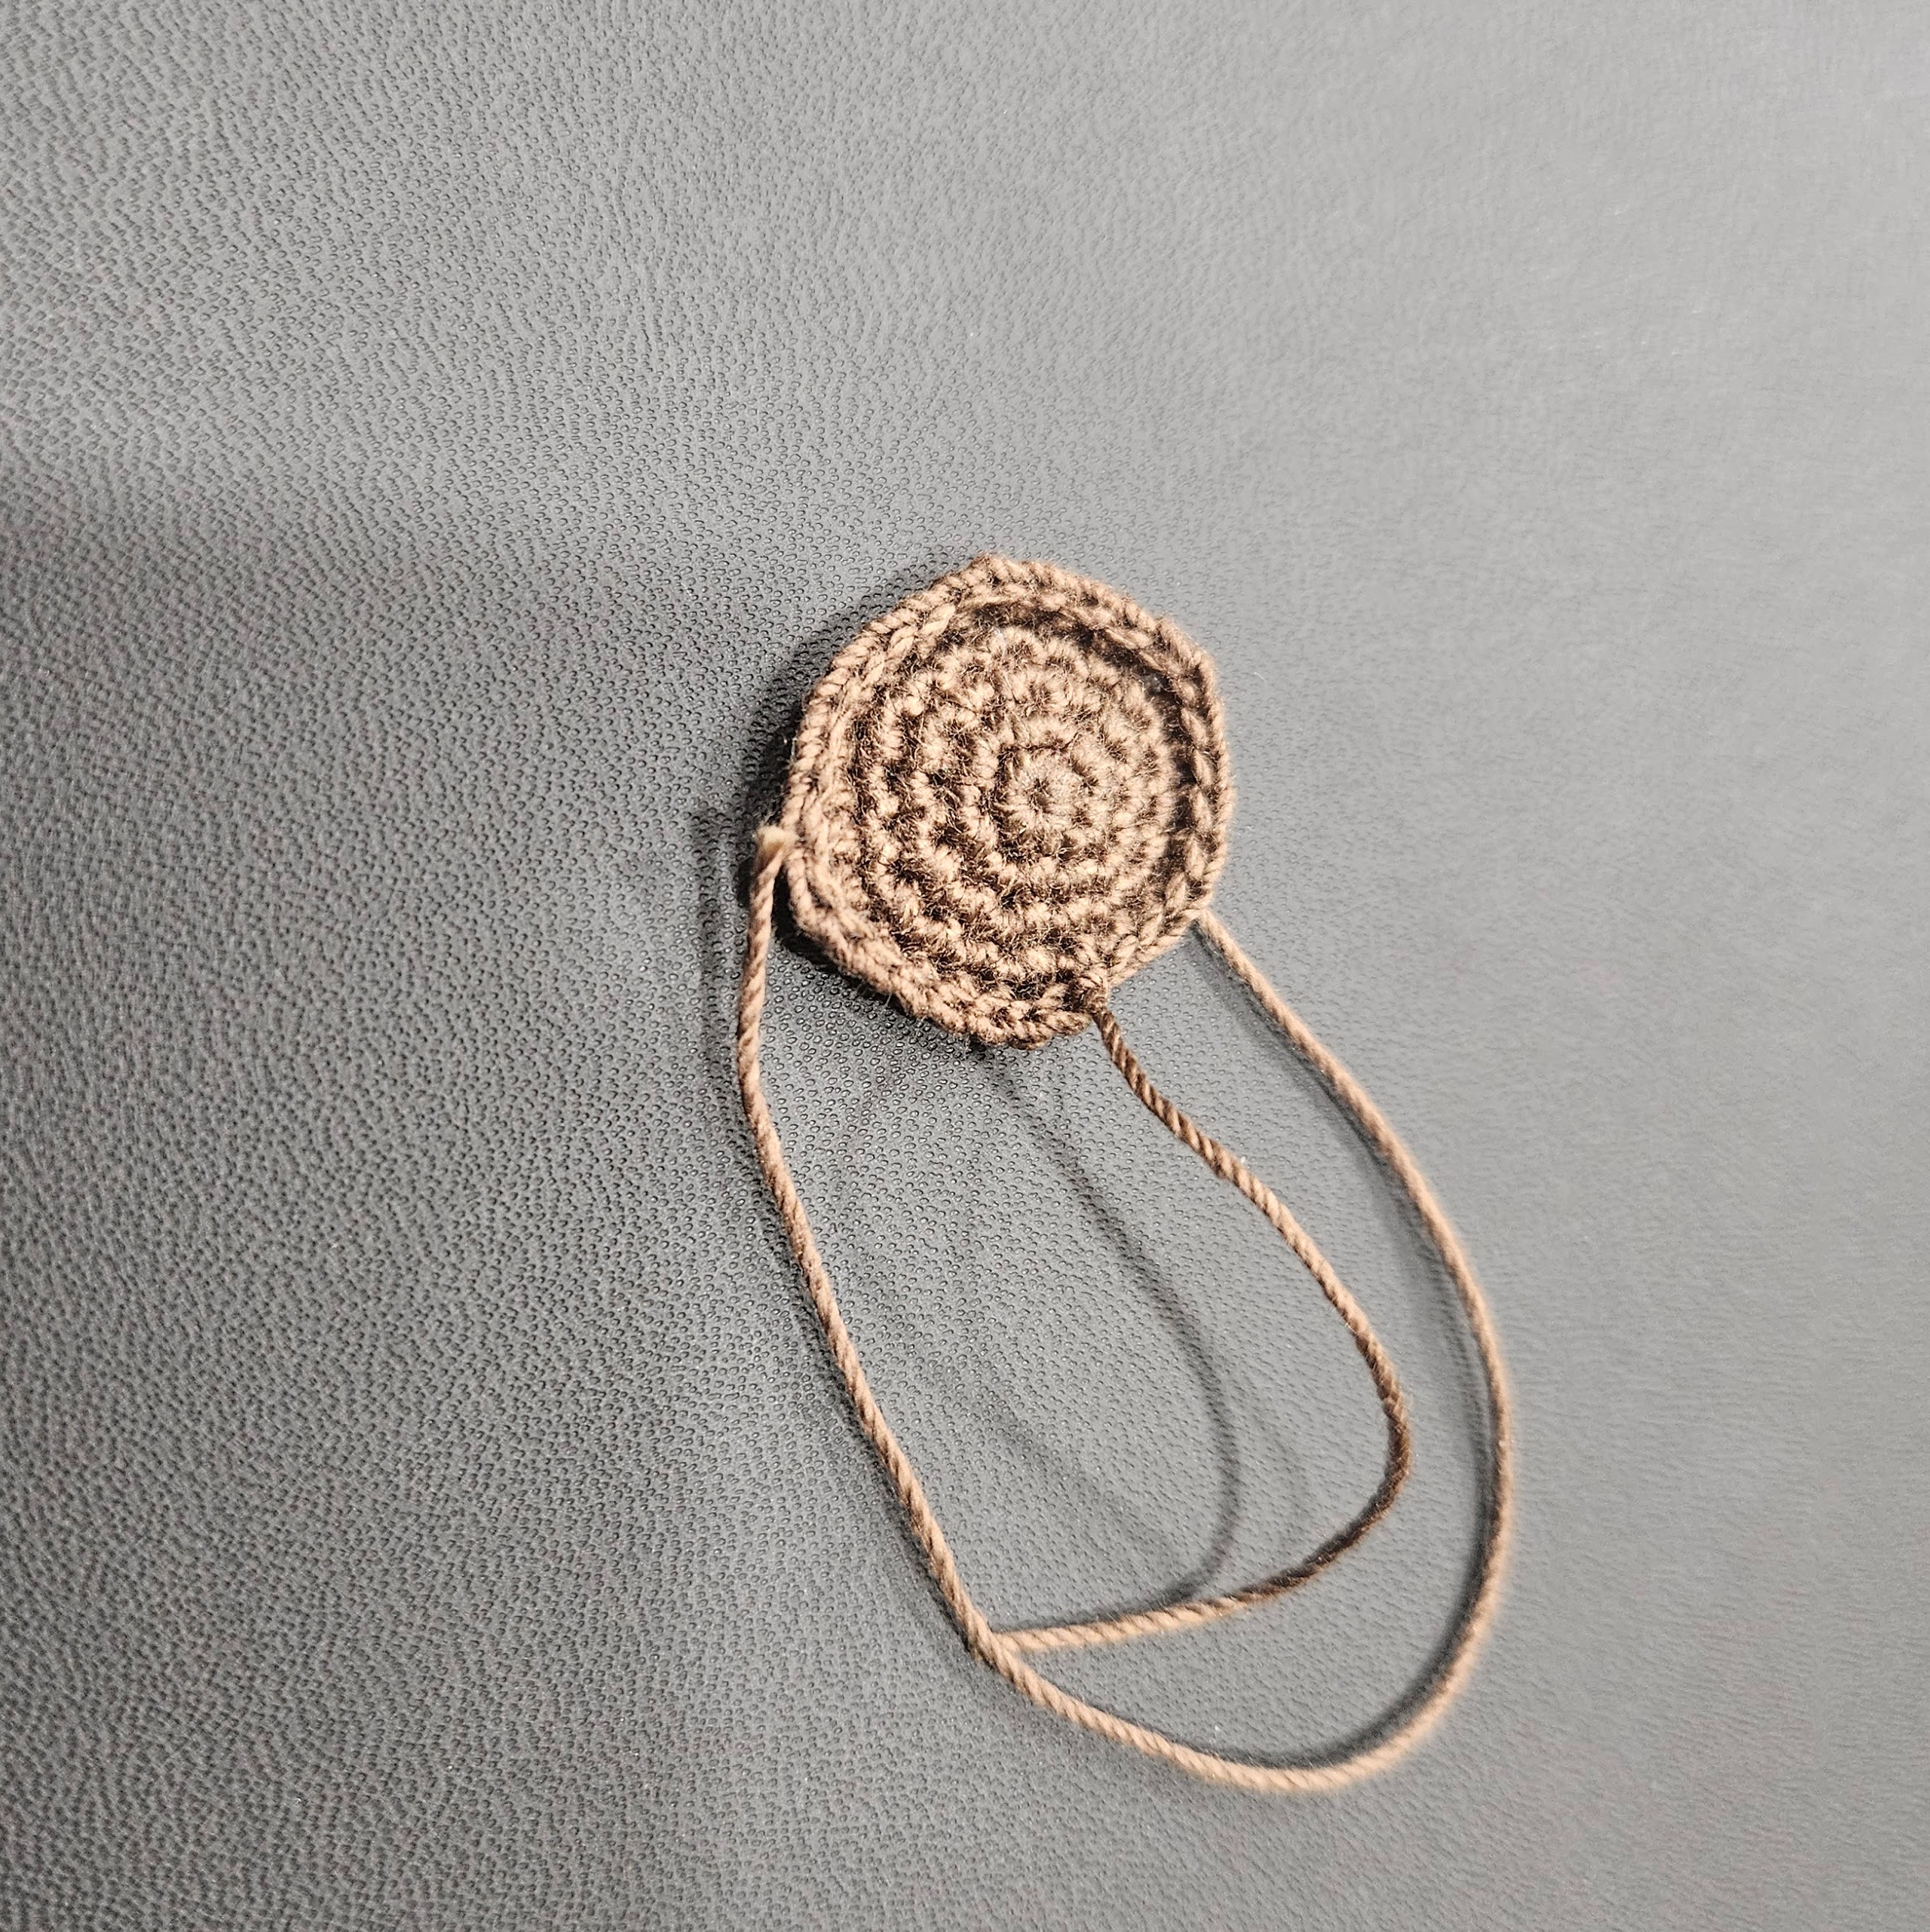 Brown crochet thread
- 6 x SC in a magic ring (6)
- 6 x INC (12)
- (SC, INC) x 6 (18)
- (2 x SC, INC) x 6 (24)
- For the fifth row, all stitches should be done in the front loops only.
(3 x SC, INC) x 4, HDC, DC, DC, (HDC, SC) in same stitch, 3 x SC, INC (30)
Fasten off
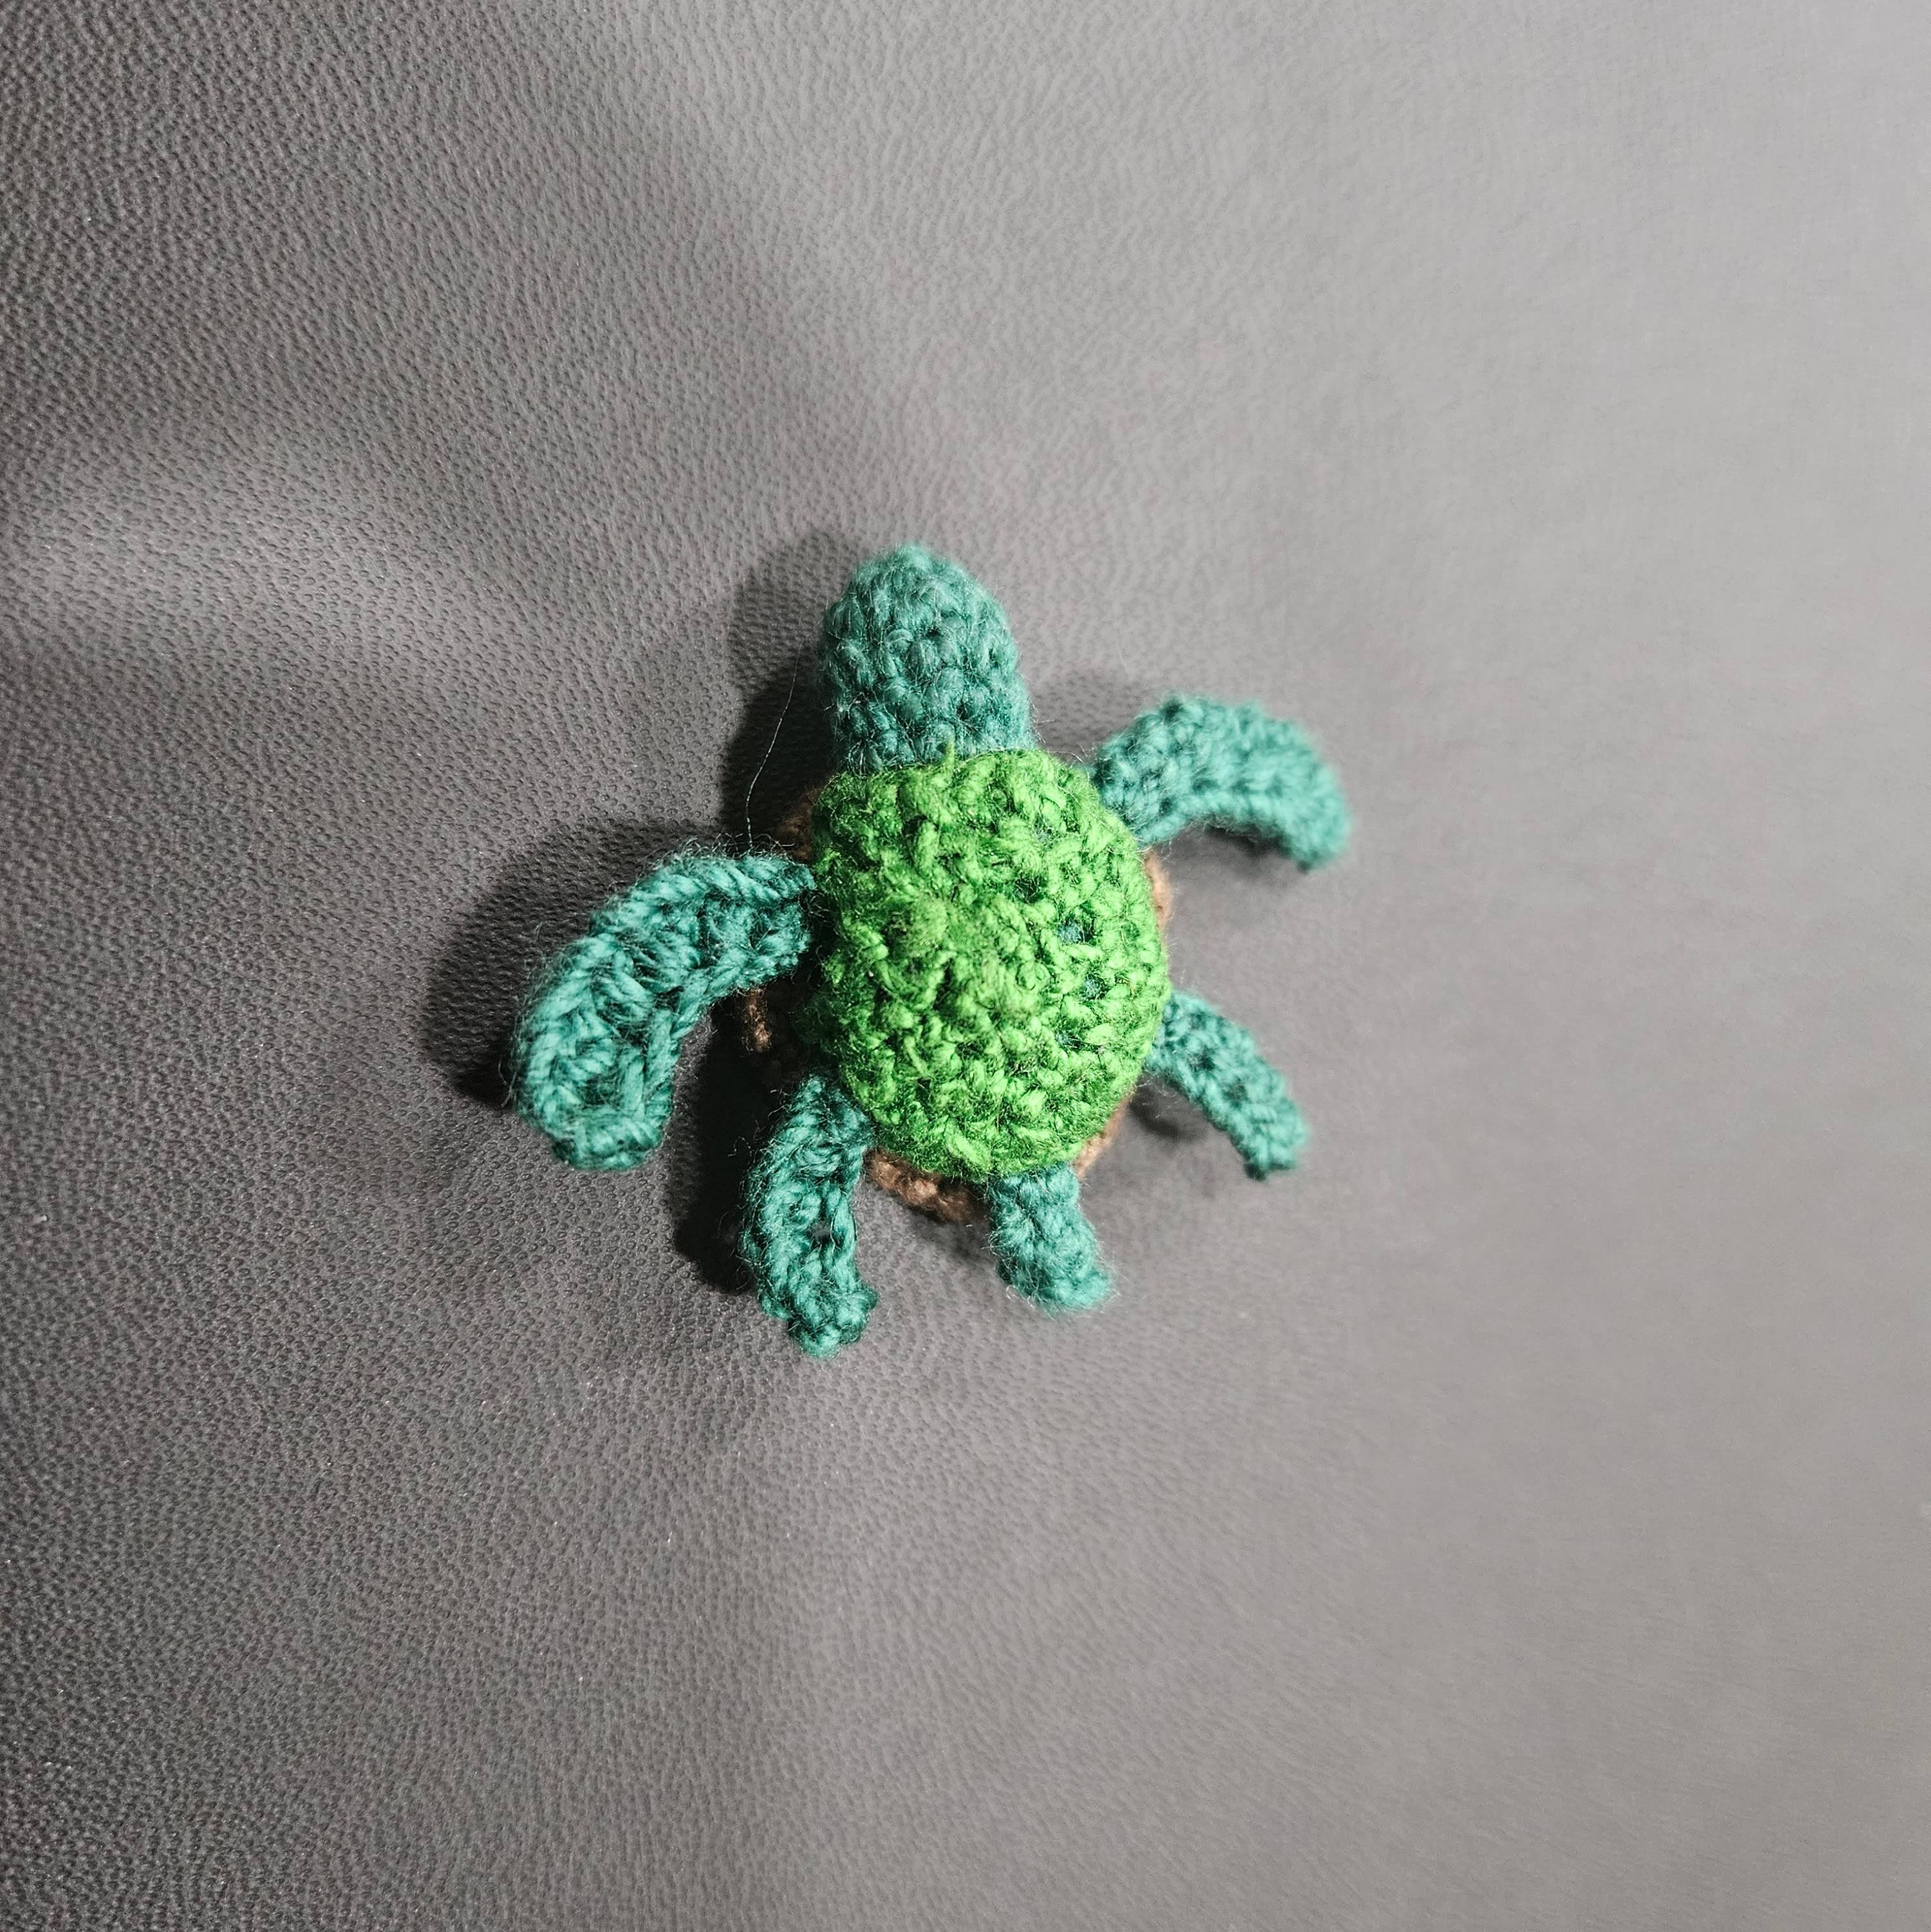
Assemble the Body
- Attach the front flippers on either side of the body, approximately over the 8th row.
- Attach the back flippers on either side of the body, approximately over the 11th row.
Belly
 Green crochet thread
- Find the unused back loop of the last HDC on the shell. Starting in the loop next to it (NOT the DC loop) Slst in to attach, then SC in same stitch.
4 x CH, Skip 2, 2 x SC, 4 x CH, Skip 2, SC, 6 x CH, Skip 4, SC, 4 x CH, Skip 2, 2 x SC, 4 x CH, Skip 2, 2 x SC, 4 x CH, Skip 2, SC (36) - Insert the turtle body. The head should go under the 6 x CH, and each leg/tail should fit under a 4 x CH.
18 x DEC (18) - 9 x DEC (9)
- 3 x DEC, you will not finish the full round (6)
Fasten off/sew shut
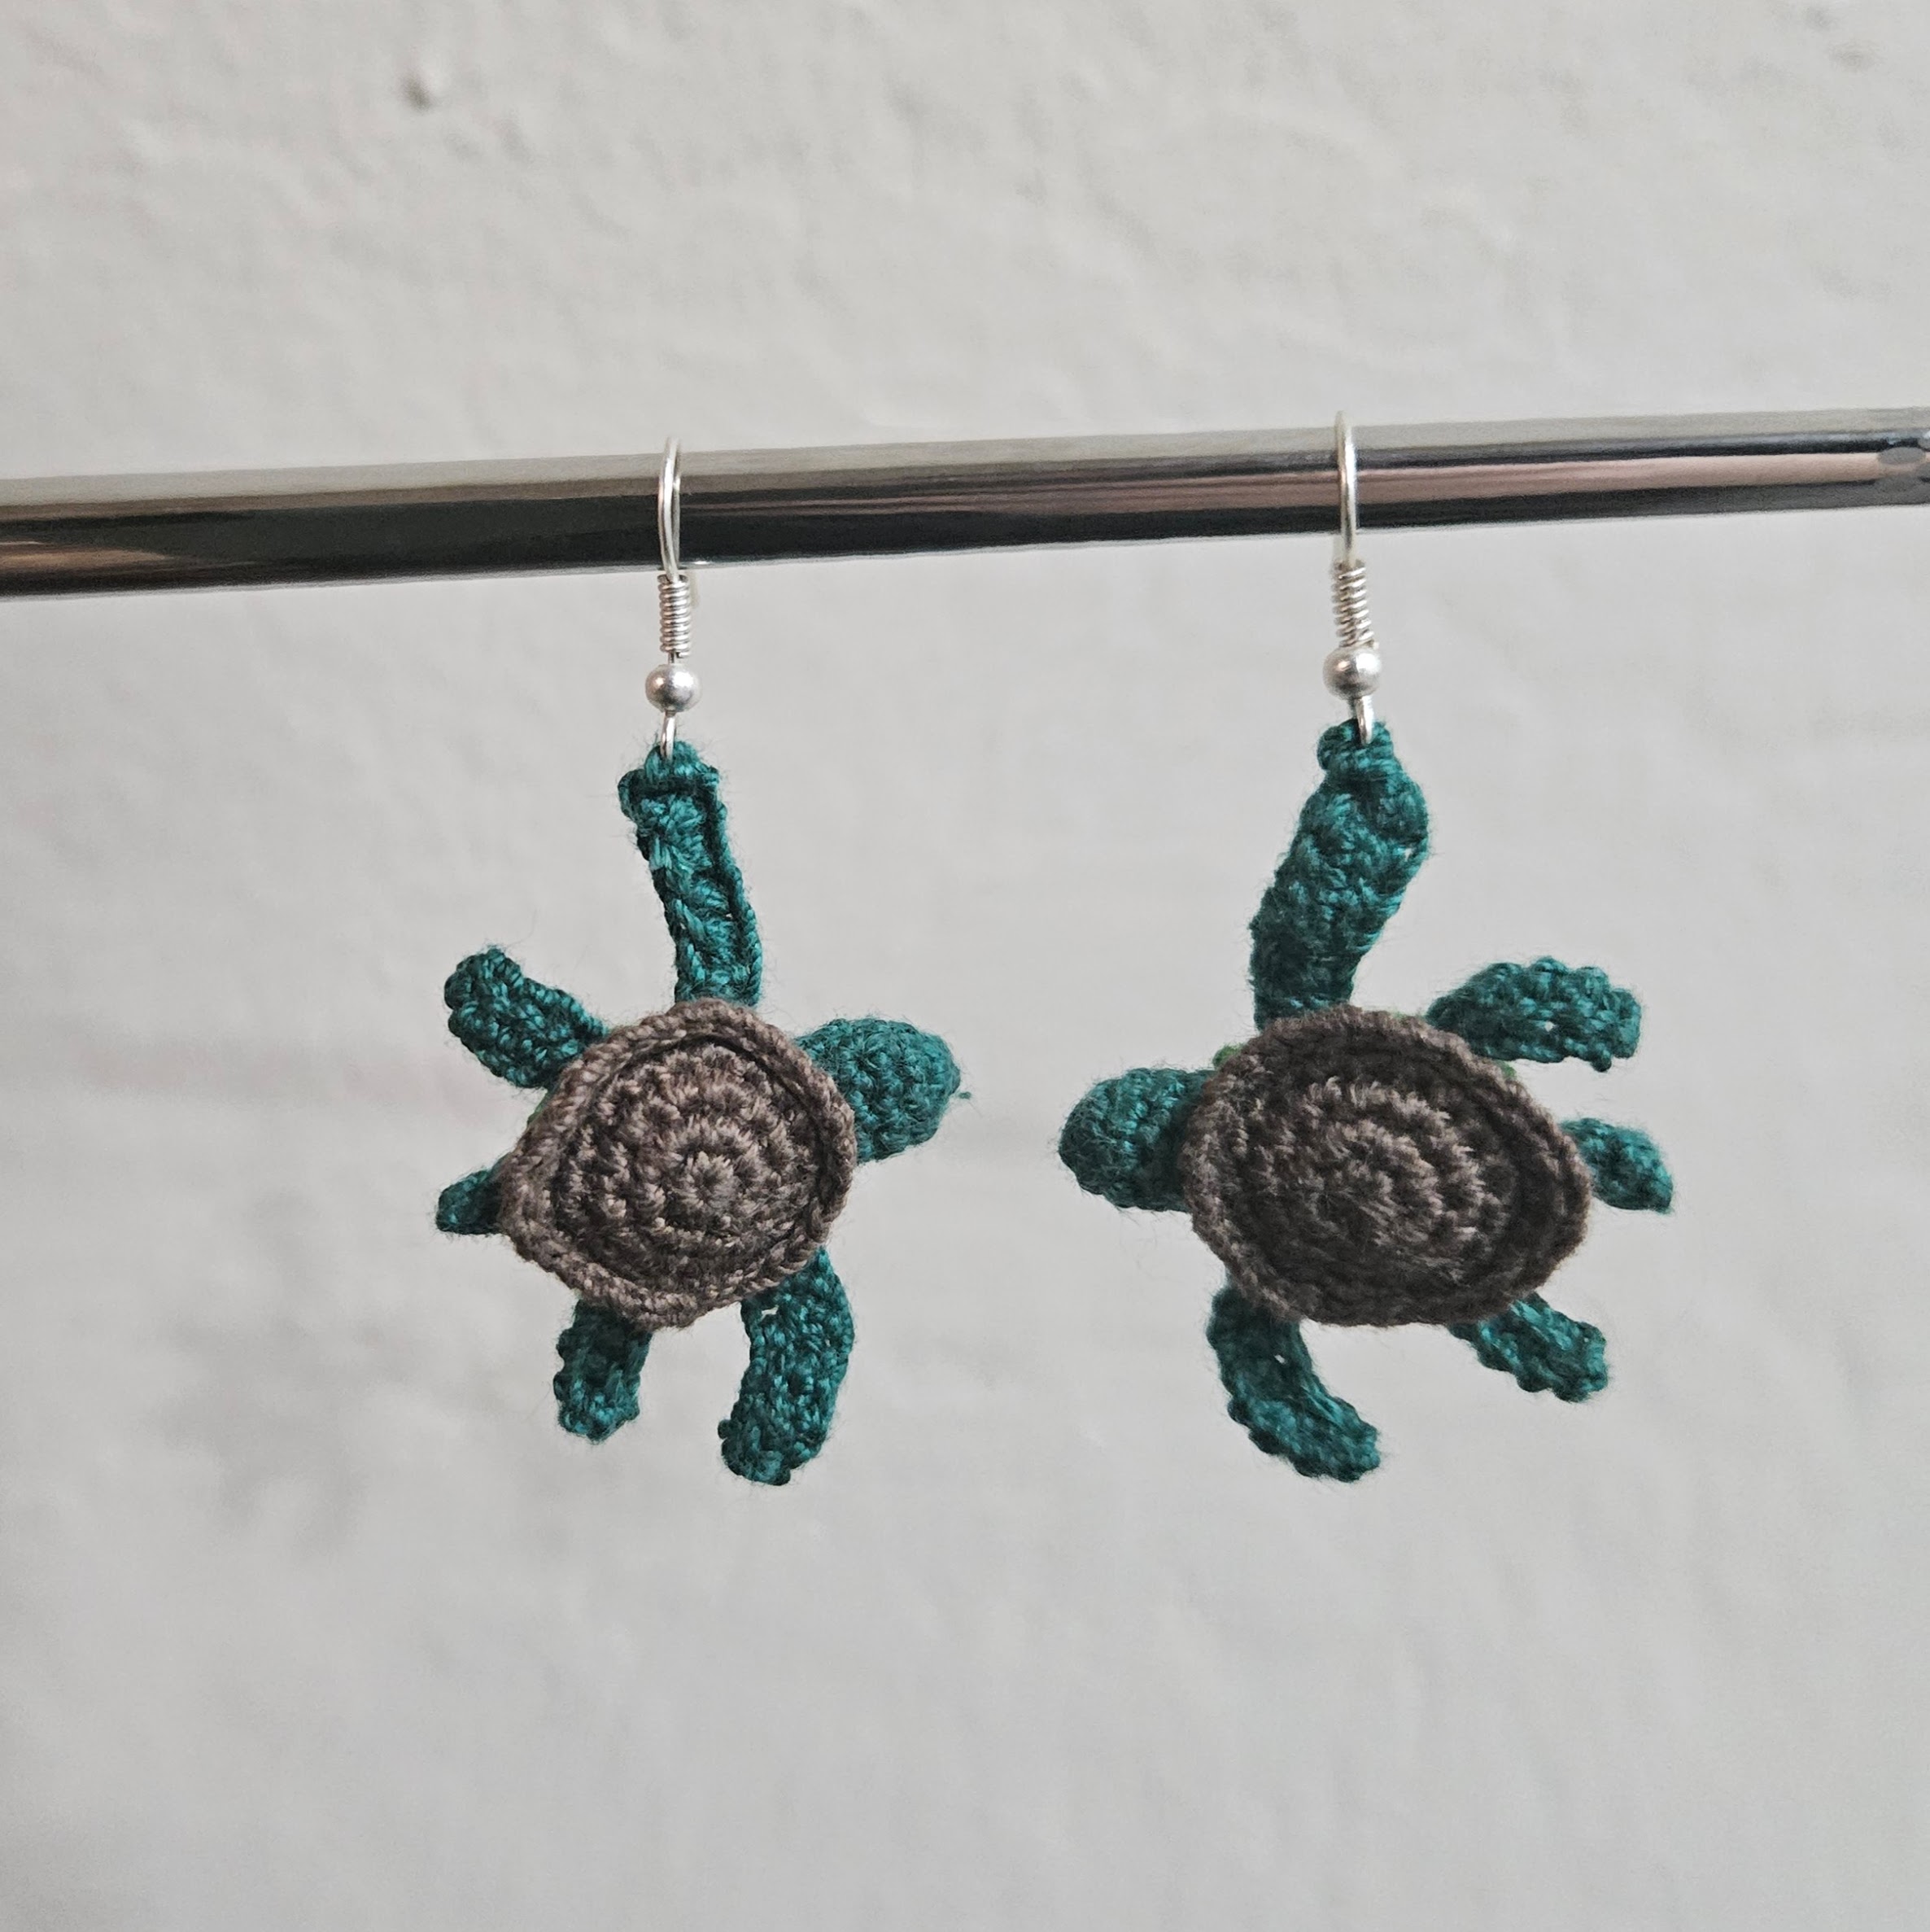
You are done! Make a second earring if you want a matching set, or just enjoy your new buddy.