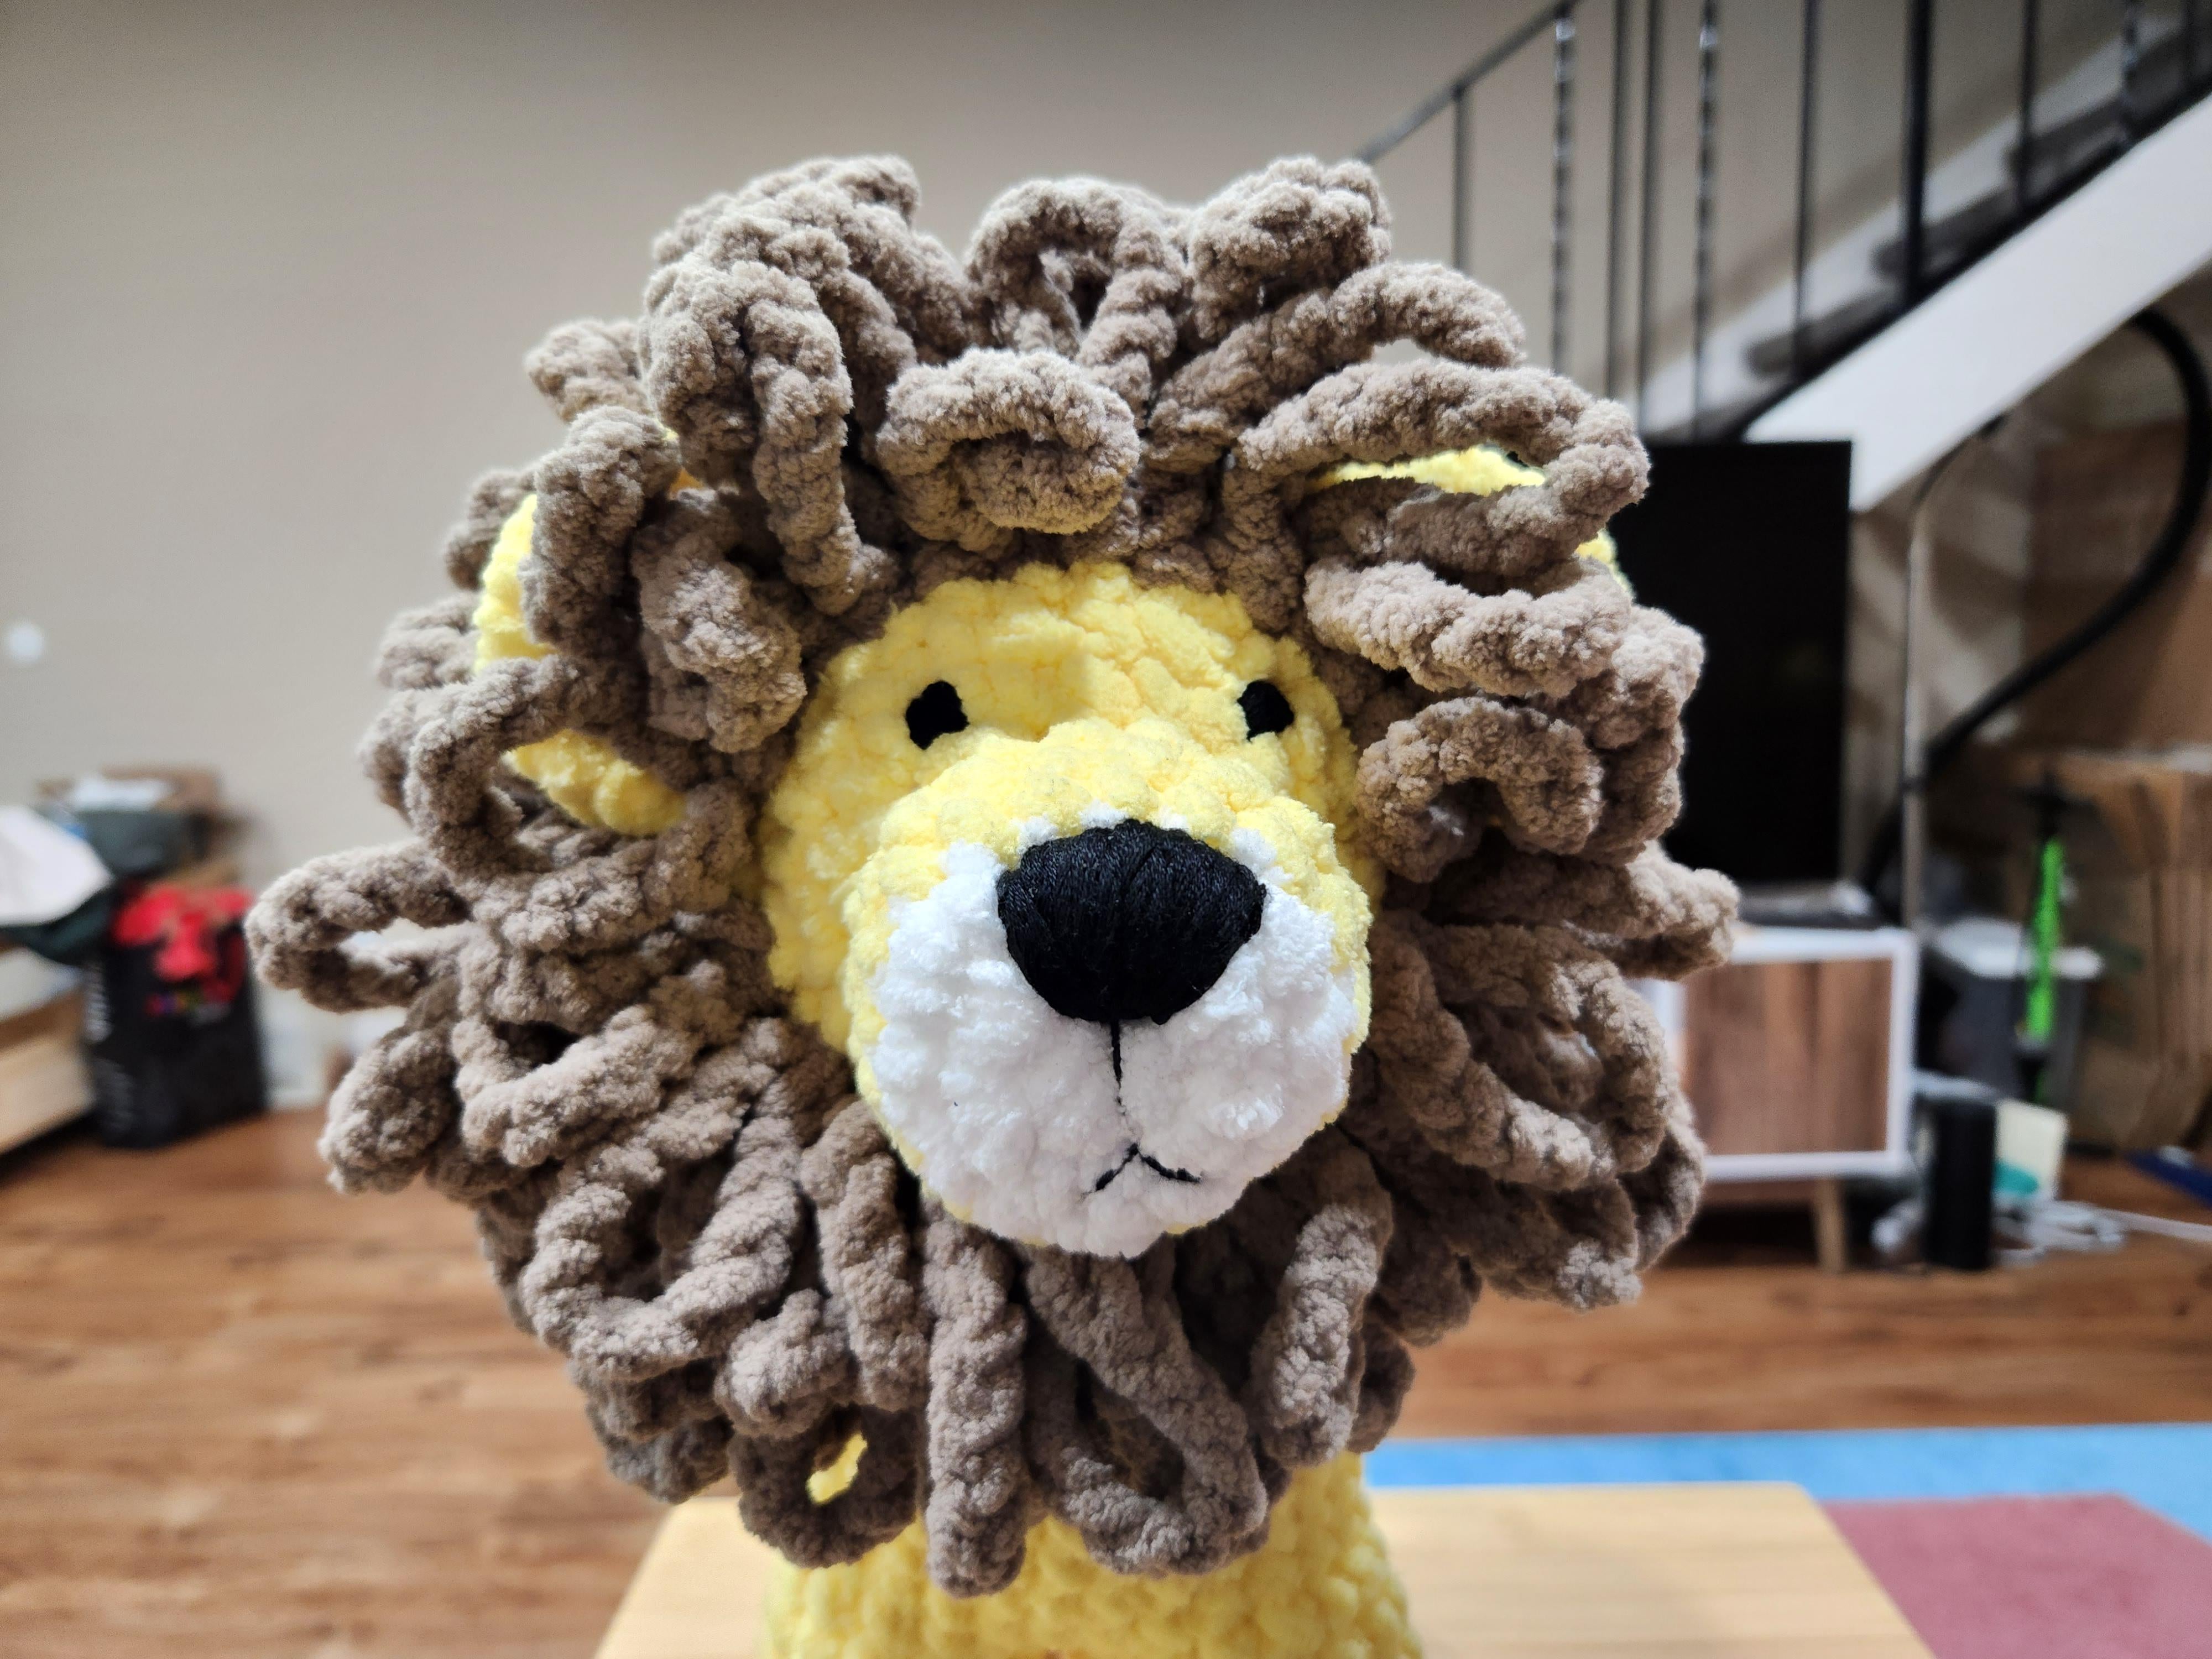
Lion Amigurumi
This is a cute lion I designed for my girlfriend’s baby nephew. I had already made him an elephant using Auburn Elephant’s wonderful pattern as well as a freehanded rhino based on the aformentioned pattern and wanted to make him a lion to go alongside them. Most lion patterns I found leaned more teddy bear, and I wanted to make one that was at home with the somewhat more realistic elephant, so I created this pattern.
If you decide to make this pattern, I would love it if you could share it on instagram and tag/mention me! My username is @derongan.
Please do not sell or redistribute this pattern. Feel free to make for personal use or to sell, but please link back to this site if you do the latter.
Supplies
- Yellow yarn (Bernat Baby Blanket in Buttercup)
- Brown yarn (Bernat Baby Blanket in Baby Sand)
- 7.0mm Crochet Hook
- Embroidery floss (Black)
I used size 6 super bulky chenille yarn, but you can use whatever. With this yarn and a 7.0mm hook the lion is around 15″ tall.
Terminology (US)
- CH - chain
- SC - Single Crochet
- BPSC - Back Post Single Crochet
- INC - Increase (SC unless otherwise specified)
- DEC - SC Decrease (I use invisible decreases)
- DEC-3 - SC Decrease but through three stitches

Head
White yarn
- 6 x SC in a magic ring (6)
- 6 x INC (12)
Change to yellow yarn - (SC, INC) x 6 (18)
- 18 x SC (18)
- 18 x SC (18)
- (2 x BPSC, INC BPSC) x 6 (24)
- (3 x SC, INC) x 6 (30)
- (30 x SC) x 6 (30)
- (30 x SC) x 6 (30)
- (30 x SC) x 6 (30)
- (3 x SC, DEC) x 6 (24)
- (2 x SC, DEC) x 6 (18)
- (1 x SC, DEC) x 6 (12)
- DEC x 6 (6)
Fasten off/sew shut
Ear (make 2)
Yellow yarn, working back and forth
- 4 x SC in a magic ring, 1 x CH (4)
- 4 x INC, 1 x CH (8)
- (1 x SC, INC) x 4, 1 x CH (12)
- 12 x reverse SC (crab stitch) (12)
Fasten off/sew onto head
Hair (repeat until you want to cry)
Brown yarn
- Attach to head with chain.
- Chain 15 (16 total chains)
- Attach to head again with SC through the same stitch
- Tie off both ends in loop, hide ends in head.
I like to put the unused end of the first chain through the loop and pull tight to fasten
Leg (make 4)
Yellow yarn
This is what I did, but I think the legs ended up too long. Consider skipping row 5 and 9 or something
- 5 x CH, SC in second CH, 2 x SC, 3 SC in next stitch, 2 x SC, INC (10)
- INC, 2 x SC, 3 x INC, 2 x SC, 2 x INC (16)
- 16 x SC (16)
- 5 x SC, CH 4, SC into opposite side, 2 x SC (12) You should end up with two holes. The following rows work up the leg, leaving the toes open
- 12 x SC (12)
- 12 x SC (12)
- 12 x SC (12)
- (3 x SC, INC) x 3 (15)
- 15 x SC (15)
- 15 x SC (15)
- 15 x SC (15)
- 15 x SC (15)
- 15 x SC (15)
Fasten off
Yellow yarn
Attach to any stitch of the toe opening
- 6 x DEC (6)
Fasten off/sew shut
Body
Yellow yarn
Similar to the legs, I think removing a row or two might be cuter. Row 9 is a good candidate
- 19 x CH, SC in second CH, 16 x SC, 3 x SC in next stitch, 16 x SC, INC (38)
- 1 x SC, 3 x SL ST into a leg, 10 x SC, 3 x SL ST into a leg, 3 x SC, 3 x SL ST into a leg, 10 x SC, 3 x SL ST into a leg, 2 x SC (38 total stitches, 12 x SL ST in legs, 26 x SC in body)
The slip stitches should go through the inside of the leg and into the body, joining them together Work the next row around the legs, ignoring the SL ST - DEC, 10 x SC, DEC, 8 x SC, DEC, 10 x SC, DEC, SC, DEC, 10 x SC, DEC, 8 x SC, DEC, 10 x SC, DEC, SC (66)
- (DEC, 8 x SC) x 3, DEC, 1 x SC, (DEC, 8 x SC) x 3, DEC, 1 x SC (58)
- 58 x SC (58)
- 10 x SC, DEC, 5 x SC, DEC, 20 x SC, DEC, 5 x SC, DEC, 10 x SC (54)
- 54 x SC (54)
- 10 x SC, DEC, 3 x SC, DEC, 20 x SC, DEC, 3 x SC, DEC, 10 x SC (50)
- 50 x SC (50)
- 6 x SC, INC, 2 x SC, DEC, 3 x SC, DEC, 2 x SC, INC, 12 x SC, INC, 2 x SC, DEC, 3 x SC, DEC, 2 x SC, INC, 6 x SC (50)
- 50 x SC (50)
- 16 x SC, (skip 18) 6 x CH, 16 x SC (38)
- 38 x SC (38)
- 2 x SC, DEC, 5 x SC, DEC, 4 x SC, DEC, 4 x SC, DEC, 4 x SC, DEC, 5 x SC, DEC, 2 x SC (32)
- SC, DEC, SC, DEC, 4 x SC, DEC, SC, DEC, 2 x SC, DEC, SC, DEC, 4 x SC, DEC, SC, DEC, SC (24)
- 2 x DEC, 4 x SC, 4 x DEC, 4 x SC, 2 x DEC (16)
- 8 x DEC (8)
Fasten off/sew shut
Neck
Yellow yarn
My first stitch is between the 2nd and 3rd stitch after chain attaches to body. You can attach wherever, just make sure to follow hints on where to inc/dec
- 24 x SC around chain and neck (24)
- 3 x SC, (INC, SC) x 4, 3 x SC, DEC-3, 4 x SC, DEC-3 (24)
Inc at throat, dec by crocheting 3 together at where chain joins. This is meant to push the neck out a bit from the body and help hide the chain. Not sure if it works. - 5 x SC, (DEC) x 4, 6 x SC, 4 x INC, SC (24)
DEC at throat, inc at back of neck. This gives extra fabric to sew at back of neck and makes the throat more clear
Fasten off/sew on to head
Tail
Yellow yarn
- 4 x SC (4)
…
- 4 x SC (4)
Sew on to body
Tail Fluff (repeat until tail looks bushy)
Brown yarn
- Attach to end of tail with chain.
- Chain 8 (9 total chains)
- Attach to tail again with SC
- Tie off both ends in loop, hide ends in tail.
Details
Using black embroidery floss, embroider two eyes onto the lion. Embroider a trapezoidal noze over a portion of the white part of the muzzle. Add an upside down Y from this to make the mouth.